Team members
Invite your team to share the inbox. Everyone gets their own login, avatar, and notification setup. Roles control who can change settings vs. who can just reply.
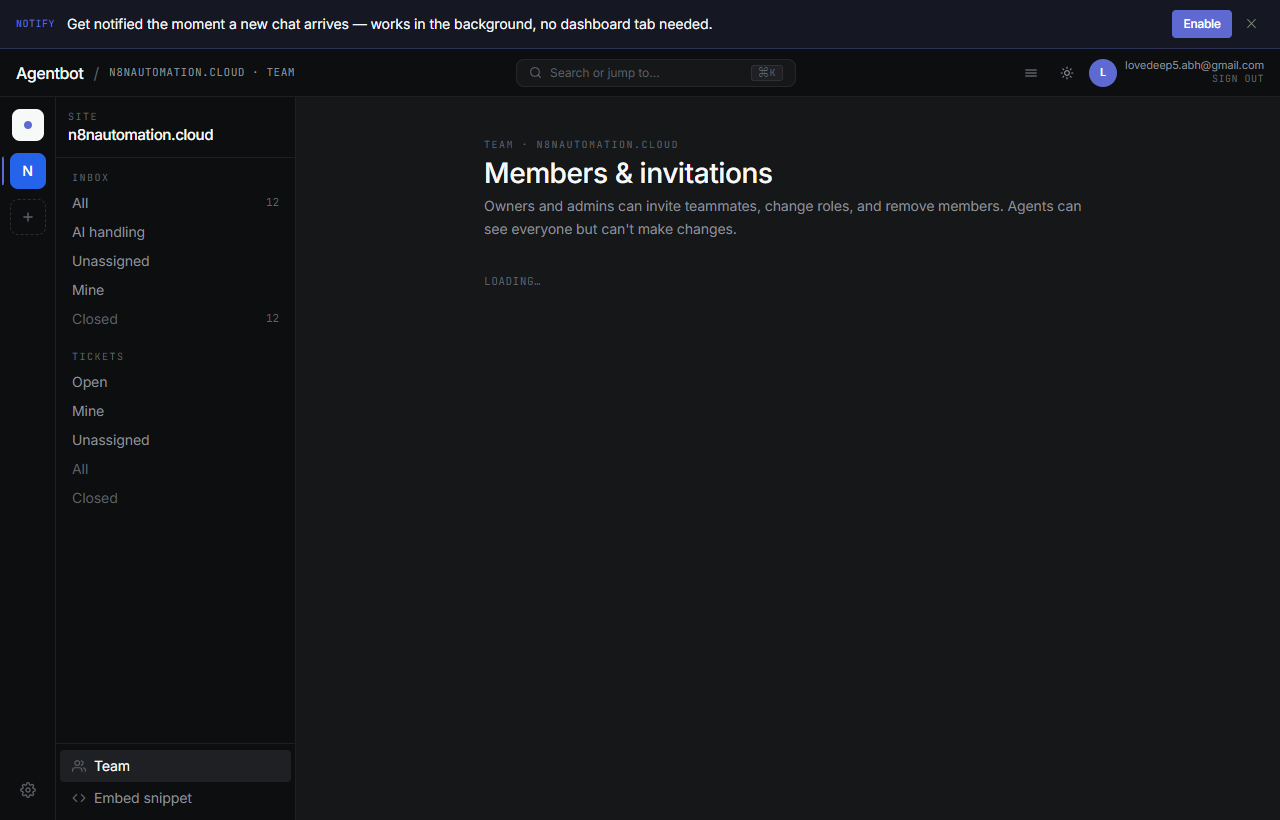
Invite a teammate
- Go to Settings → Team.
- Click Invite member.
- Enter their email and pick a role.
- Click Send invite.
Your teammate gets an email with a sign-up link. If email isn't configured yet (you haven't set up Resend), the dashboard surfaces the invite link directly — copy it and share by Slack / WhatsApp / carrier-pigeon.
Roles
| Role | Can do |
|---|---|
| Admin | Everything an agent can do, plus: change site settings, invite/remove teammates, set up webhooks, change AI prompt and availability. |
| Agent | Reply to conversations, transfer, close, work tickets, use canned responses. Cannot change site settings or invite people. |
Change a role
Click the role pill next to a teammate's row and pick a new one. They don't need to re-login — the change takes effect immediately.
Remove a teammate
Click the ×next to their row. They lose access immediately and their active sessions are terminated. Their past replies stay in the conversation history (we don't scrub message content).
Pending invitations
Invitations that haven't been accepted yet show with a Pending pill. You can:
- Copy invite link — useful if email delivery failed.
- Resend — re-email the invite.
- Cancel — revoke the invite (the link stops working).
Invitations expire after 14 days if not accepted.
Profile setup
Each teammate should fill in their own profile so visitors see a real person:
- Display name — what visitors see next to messages (not your email).
- Avatar — a square headshot. Keeps the chat feeling human.
Find these under Profile → Edit profile in the dashboard header.